
The grid method is as old as the hills. Ancient Egyptians used this method by creating grid lines on their drawing surface with a string soaked in dye. Renowned artists like Leonardo Da Vinci, Van Gogh and M.C Escher have as well used this method in their works. The grid method is advantageous because it is inexpensive, easy to learn and requires little to no technological skills. The only skill required is good precision.
How To Use The Grid Method To Enlarge Images
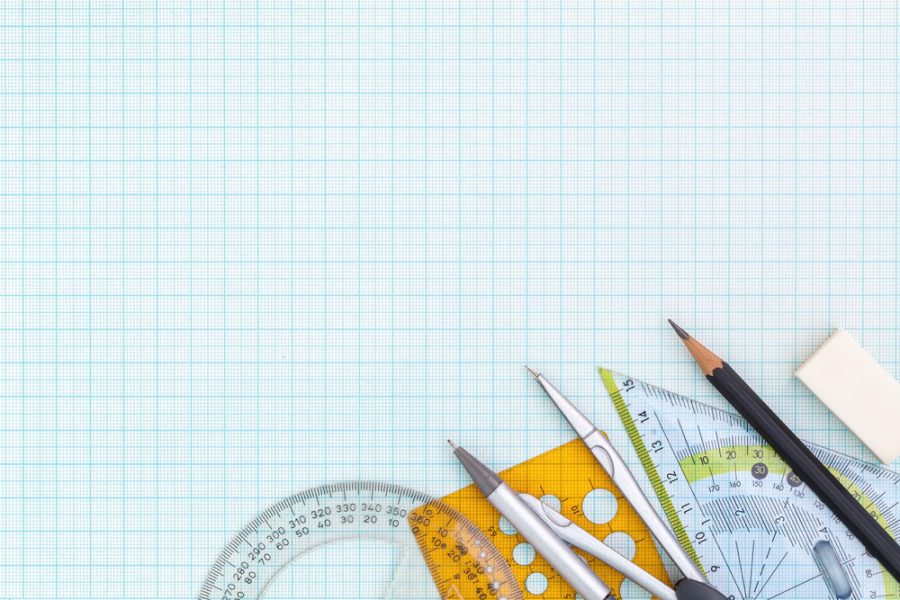
The basic concept in this method is to draw grid lines over your reference image or photo, replicate the grid lines on your drawing surface, then recreate the image one square at a time. Graph paper is perfect for this.
Instruments You Require When Using The Grid Method
- A reference image – The image you wish to replicate or enlarge
- A ruler
- A pencil – You can use a mechanical pencil so that your grid lines are precise. A piece of sharpened charcoal can work too
- A drawing surface – The drawing surface can be a paper, canvas or wood panel
Steps To Follow When Using The Grid Method
Draw Grid Lines On The Reference Image
Using your ruler, mark evenly spaced 1-inch dots on the edges of the reference image. Ensure that each dot perfectly aligns to its counterpart on the other side. Gently draw a line that joins the dots on both edges. The grid lines should form perfect squares like those on a graph paper.
Draw Grid Lines On The Drawing Surface
This step calls for a little bit of math. Drawing grid lines follows the same procedure as described in the first step but depends on the number of times you want to enlarge. For instance, say the size of your reference image is (6 x 9), and you want to enlarge twofold. The new size will be (6 x 9) x 2, which equals (12 x 18). In this case, you will space your dots at 2 inches then draw your grid lines.
Replicate The Image One Square At A Time
A good rule of thumb is to assign each square on both the reference image and drawing surface, a number or alphabet by marking lightly with the pencil. Doing this enables you to track it easily. Using the pencil, sketch the reference image on the drawing surface. Focus one square at a time. You can start from the top left, then progressively head to the right and downwards, until you finish at the bottom right. Focus on making sure each square perfectly replicates that on the reference image.
Well done! You are now ready to paint. The grid method might be time-intensive if the image is too detailed or if your enlargement sizes are large. Just work patiently. Focus on getting each square right. Carefully erase the grid lines after you replicate the entire image.
More Stuff For Your Inspiration:
